


10 Hidden tricks you didn't know your Android phone could do
 |
| 10 Hidden tricks you didn't know your Android phone could do |
1. Add a shortcut to My Apps in the Play Store

If you’re like me, you open the Play Store mostly for one reason: app updates. It’s important to keep your apps updated and to read about the changes. One of the newest Android features is called “App Shortcuts.” It allows you to long-press an app on your home screen and jump straight to a specific section. The Play Store has this for the “My Apps” section. You can put the “My Apps” shortcut directly on your home screen.
Note: This feature only works in Android 7.1+ or with certain 3rd-party launchers (such as Nova Launcher).
- Put the Play Store on your home screen if it’s not already
- Long-press the Play Store
- Long-press the My apps shortcut
- Drag it anywhere on the home screen and drop it
- Done!
2. Jump to App Info from the Recent Apps

Every Android app has an “App Info” page in the Settings. This is where you can disable, force stop, clear cache, reset defaults, and perform a number of other functions. The reason for visiting this page usually has to do with an app misbehaving. Navigating to the App Info page through the Settings app can be cumbersome. Thankfully, there is a much quicker method.
- Open Recent apps/Multitasking screen
- Find the app you want
- Long-press the app icon in the title bar
- Depending on your phone, it will jump straight to the App Info page or you’ll have to tap the (i) button
- Done!
3. Prevent nosy people from looking through your phone
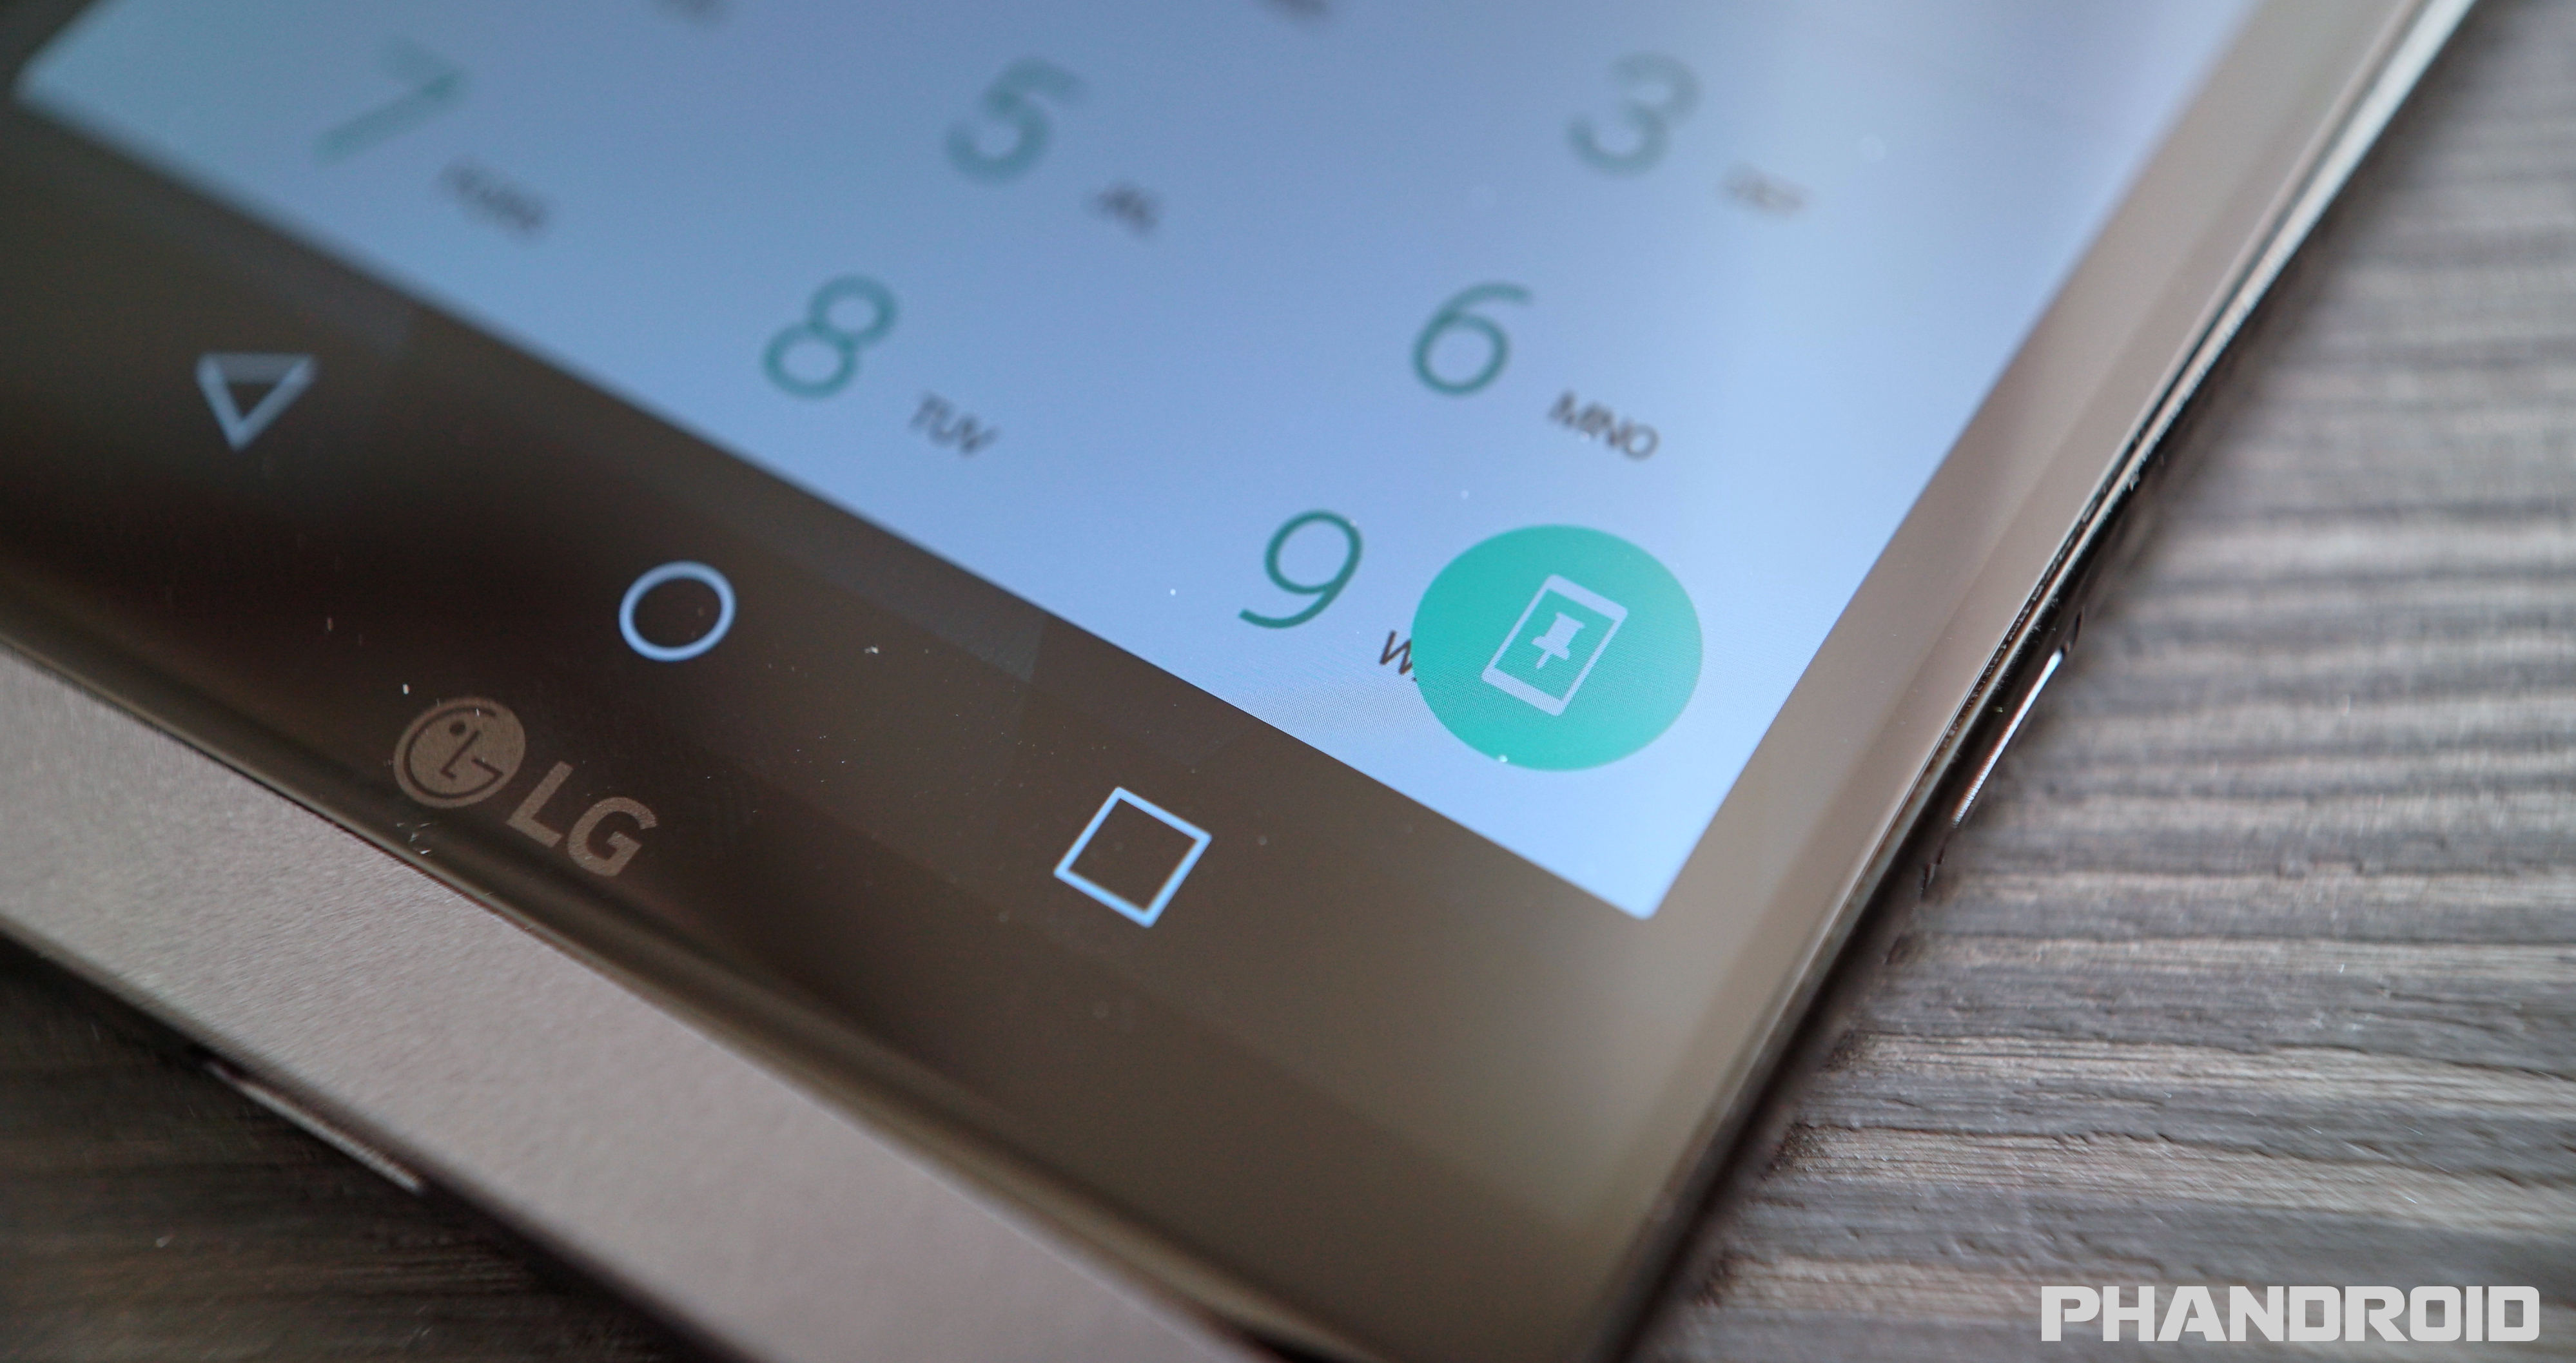
Your phone is full of personal information and sensitive content. It’s only natural to feel a little anxious when someone else has all of that information in their hands. “Screen Pinning” is a feature that gives you peace of mind when handing your phone to someone else. It allows you to “pin” an app so it’s impossible for someone to leave that app and look at other stuff on your phone. Only you can unpin the app.
- Open the Settings app
- Go to the Security section
- Find Screen pinning or Screen pin
- Turn it on and also make sure to enable the screen lock option
To use it:
- Open the app you want to pin
- Open the Recent apps screen and scroll up to reveal the pin icon
- Tap the pin icon and hand your phone off
To unpin the app, it’s usually something like long-pressing the Back button or long-pressing Back and Recent apps. Your phone will tell you how to do it.
4. Create custom Quick Tiles

One of the best new Android features you may not be aware of is custom Quick Settings Tiles. The Quick Settings is the area in the notification shade that allows you to quickly toggle on WiFi, Bluetooth, and a number of other things. You can rearrange these tiles to your liking, but what’s even better is to download more tiles from the Play Store. Here are a few to try out:
- Weather Tile – weather conditions and current temperature
- Caffeinate – keep screen awake for 5 minutes
- Quick Search Tile – do a web search
- Tiles – create your own tiles
How to add a Quick Tile:
- Pull down the Quick Settings
- Tap the EDIT or pencil icon
- Find the tile and drag it to the Quick Settings
- That’s it!
5. Restrict apps from using data in the background

The unfortunate state of mobile data is that most of us have to make do with not enough of it. Making it to the end of the month without going over your limit can be a struggle, especially when apps are guzzling data behind your back. Android has had a feature for a while that can cut off data when you reach a certain point, but a new feature allows you to cut off data for specific apps. It’s a very powerful tool.
- Open Settings
- Go to Data usage > Data saver
- Toggle the switch on
- Tap Unrestricted data access
- Select the apps you want to allow to use mobile data
- Done!
6. Hide lock screen notifications from prying eyes

If you’re a smart smartphone user, you have some type of lock screen security. That should keep people from getting into your phone, but what about the stuff they can see on your lock screen? You could have an incriminating or personal information tucked in a text message for anyone to see. Thankfully, you can hide the content of your notifications on the lock screen. It’s very easy to do.
- Open Settings
- Go to Notifications or Sound & notification
- Tap the gear icon (skip if not on Android Nougat)
- Tap On the lock screen or Lock screen
- Choose from one of the options
- Don’t show notifications at all
- Show all notification content
- Hide sensitive notification content
- That’s it!
7. Use gestures on the Fingerprint Scanner
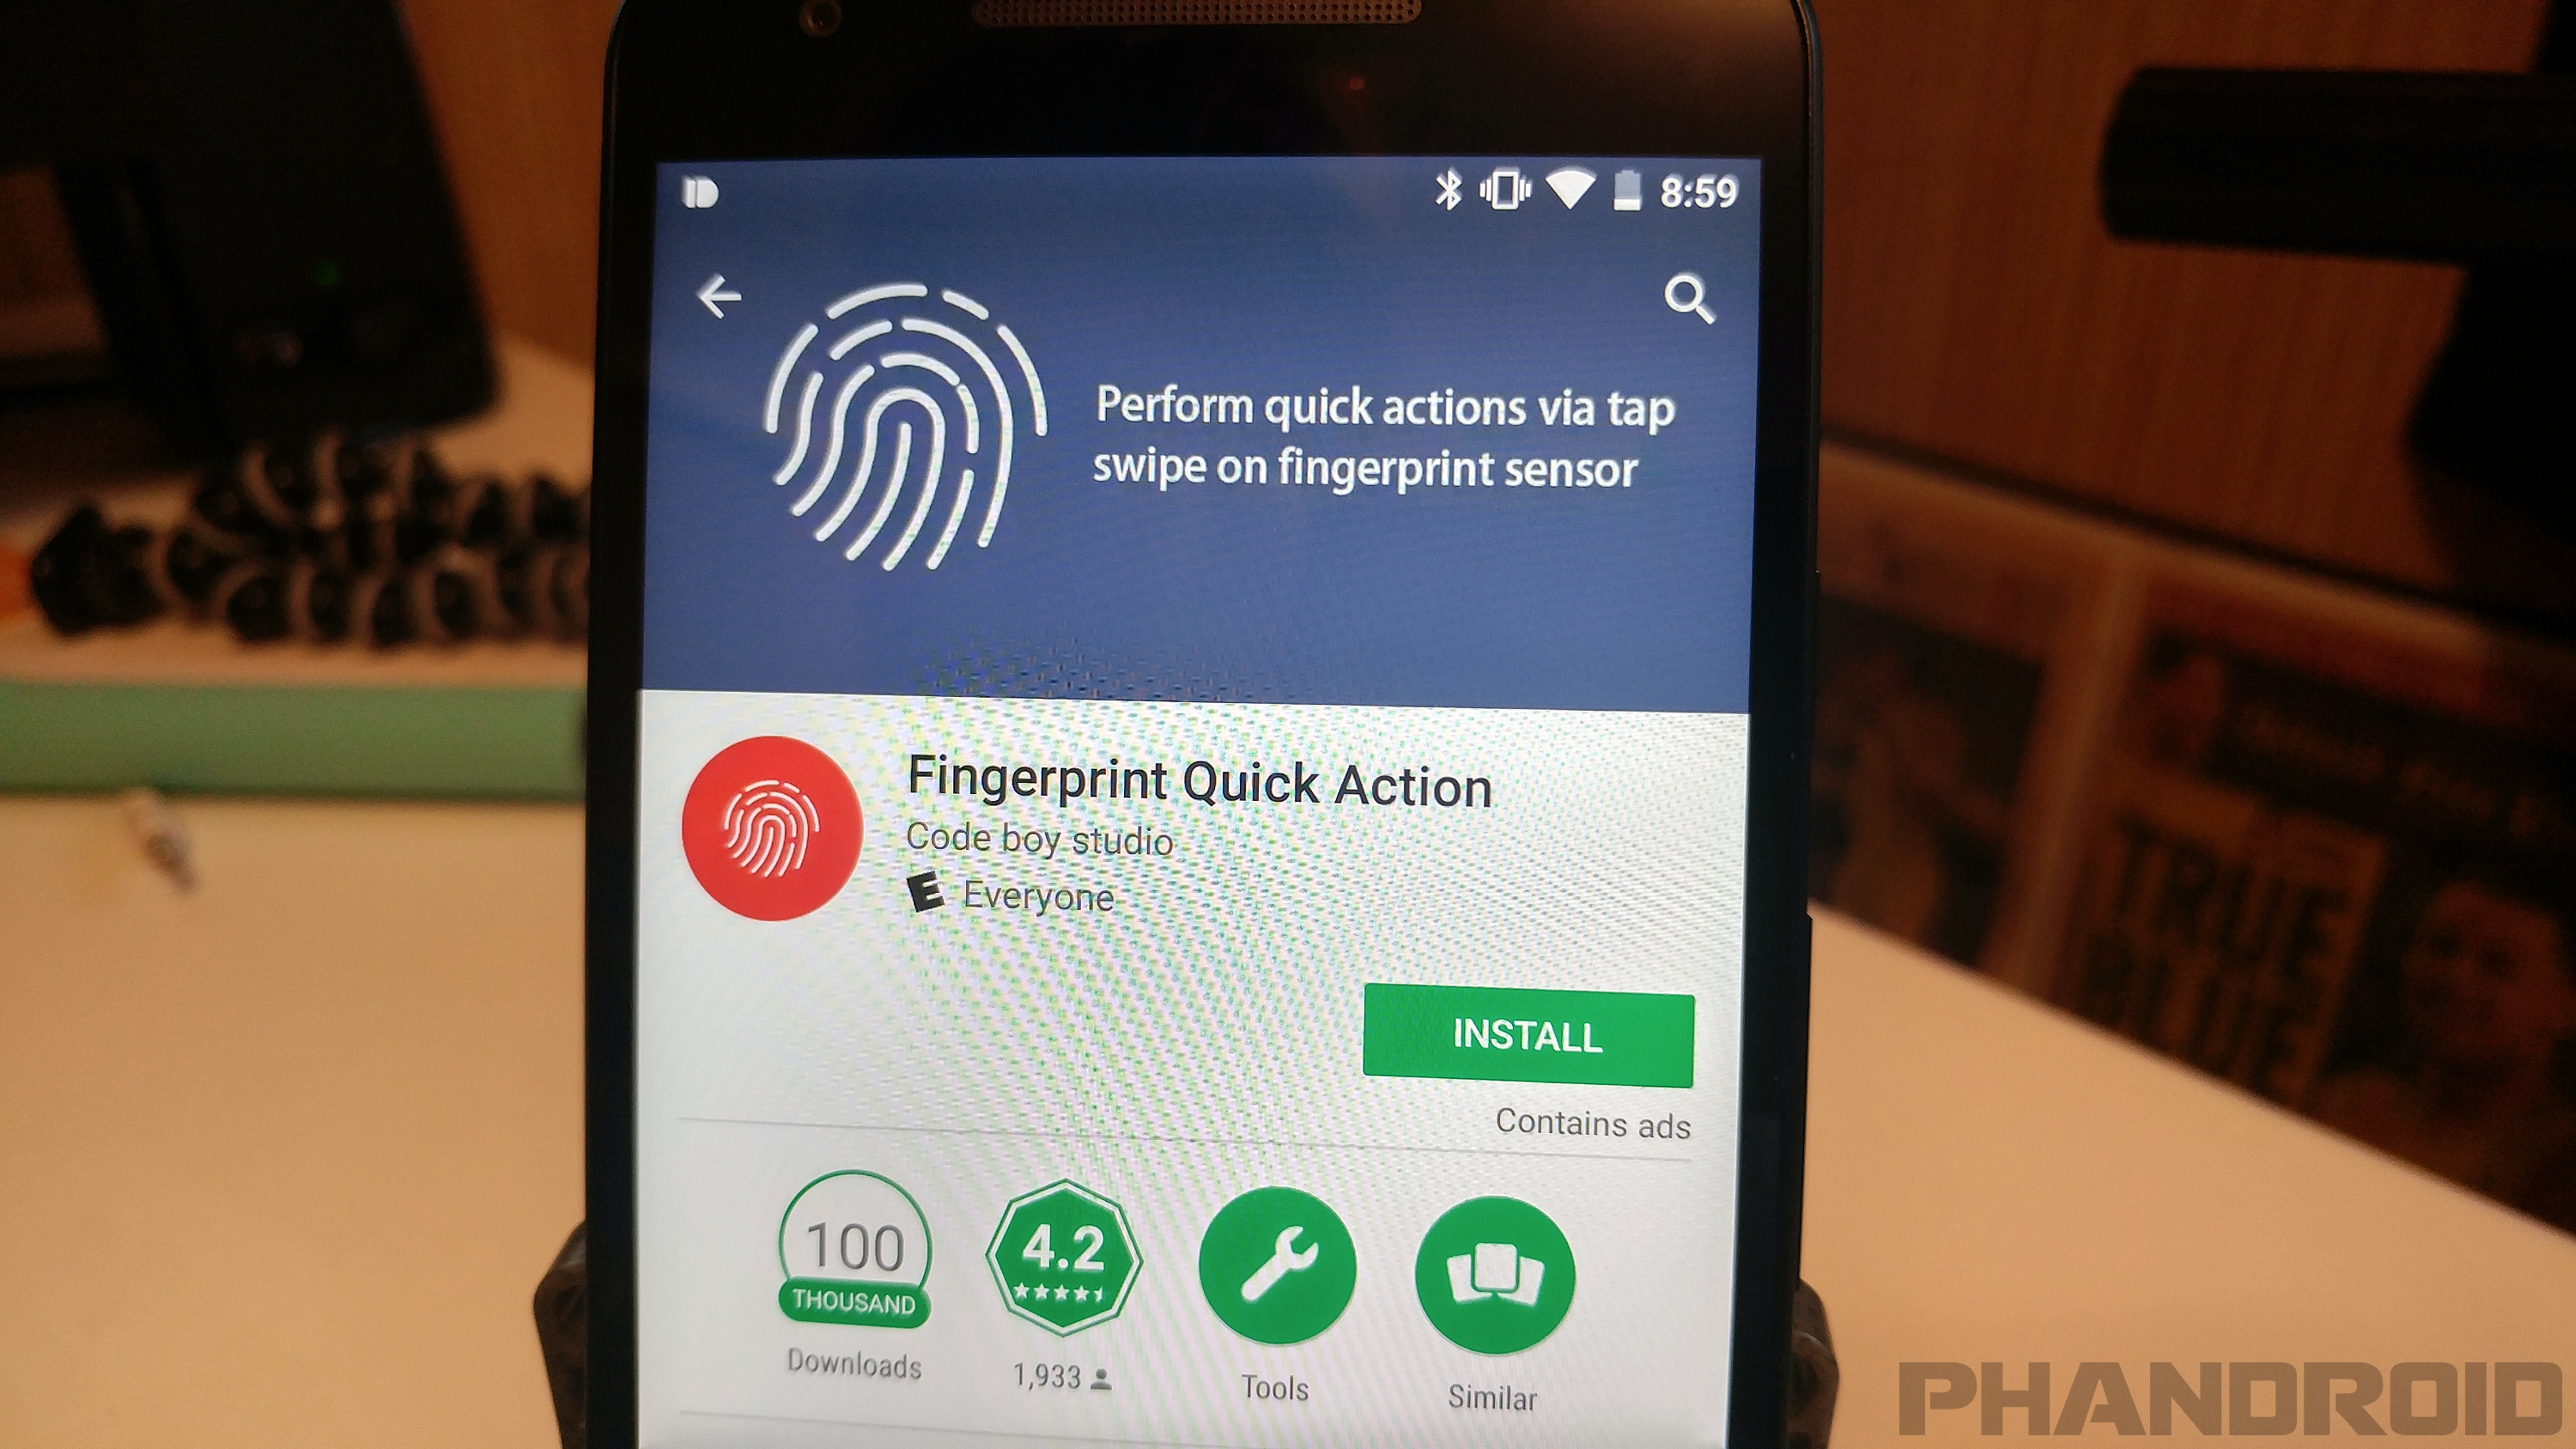
Most phones these days have fingerprint scanners. Other than the obvious fingerprint scanning, some phones use the scanner as a power button or home button. That’s basically the extent of the usefulness. What if you could use the fingerprint scanner for more? What if it could do anything you want? A very cool app called Fingerprint Quick Action can do just that.
- Download Fingerprint Quick Action
- Open the app and check the box to Enable Fingerprint Quick Action
- You’ll be asked to give Accessibility permissions. Tap OK and do it
- Return to the app and select an action for Single tap, Fast swipe, and Double tap
- You’re done!
8. Insert GIFs with the Gboard keyboard
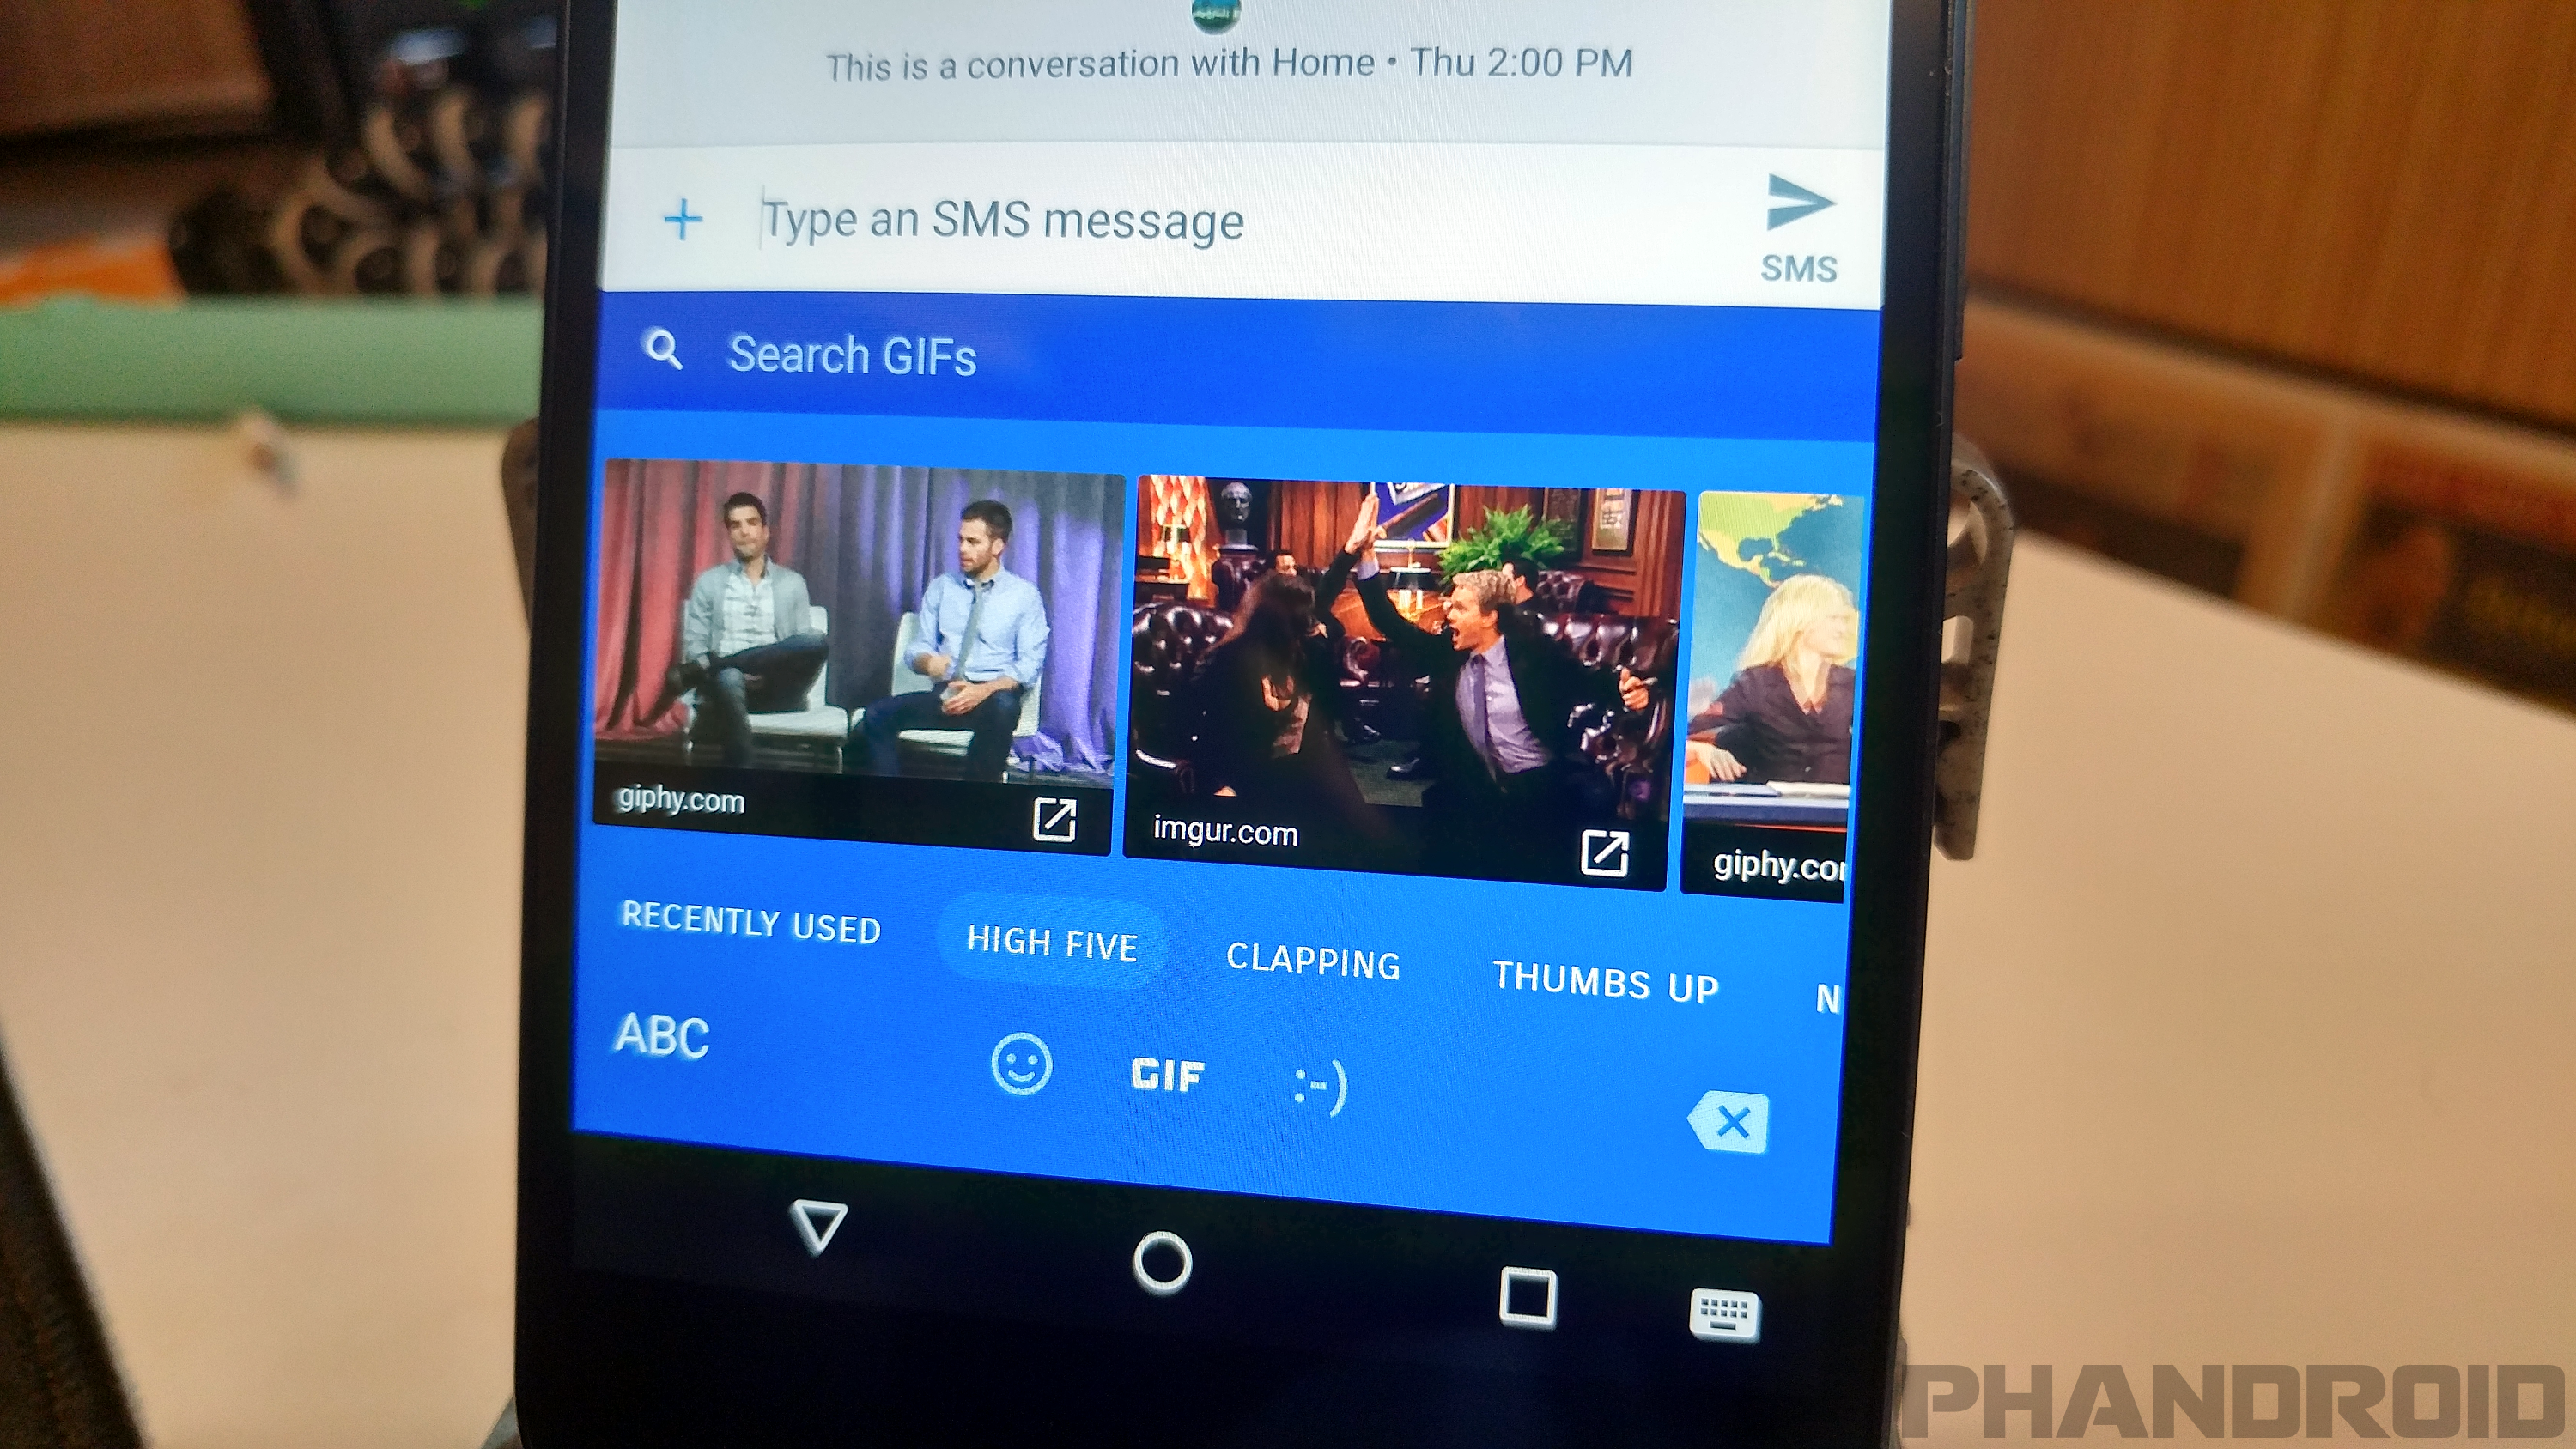
The right GIF can say a lot more than even the most finely crafted text message. There are plenty of ways to find GIFs on Android, but nothing is easier than having GIFs built right into your keyboard. Google’s own Gboard keyboard has the functionality. You can find the perfect GIF without leaving the current app. This feature isn’t supported in all apps yet, but more and more are jumping aboard the GIF train. You should too.
Install Gboard
- Download Gboard
- Go to Settings > Language & input
- Tap Current keyboard
- Select English (US) Gboard
Insert GIFs with keyboard
- Open a supporting app
- Start composing a message
- Press the emoji button
- Press the GIF button
- Browse categories or search for a specific GIF
- Select the GIF to use!
9. Locate and your lost or stolen phone

Losing your phone is one of the worst things that can happen. These devices contain sensitive information and private data. If your phone falls into the wrong hands it could put you in a world of trouble. There are apps you can download to help in the event of a lost phone, but in order for them to work you need to have them installed before something bad happens. Luckily there is a built-in way to find your lost phone and even wipe all of your personal data.
- Double-check to make sure Android Device Manager is installed
- Go to google.com/android/devicemanager
- Select your phone from the menu
- Now you can see the location, ring it, lock it, or erase it
10. Make your phone snappy with faster animations
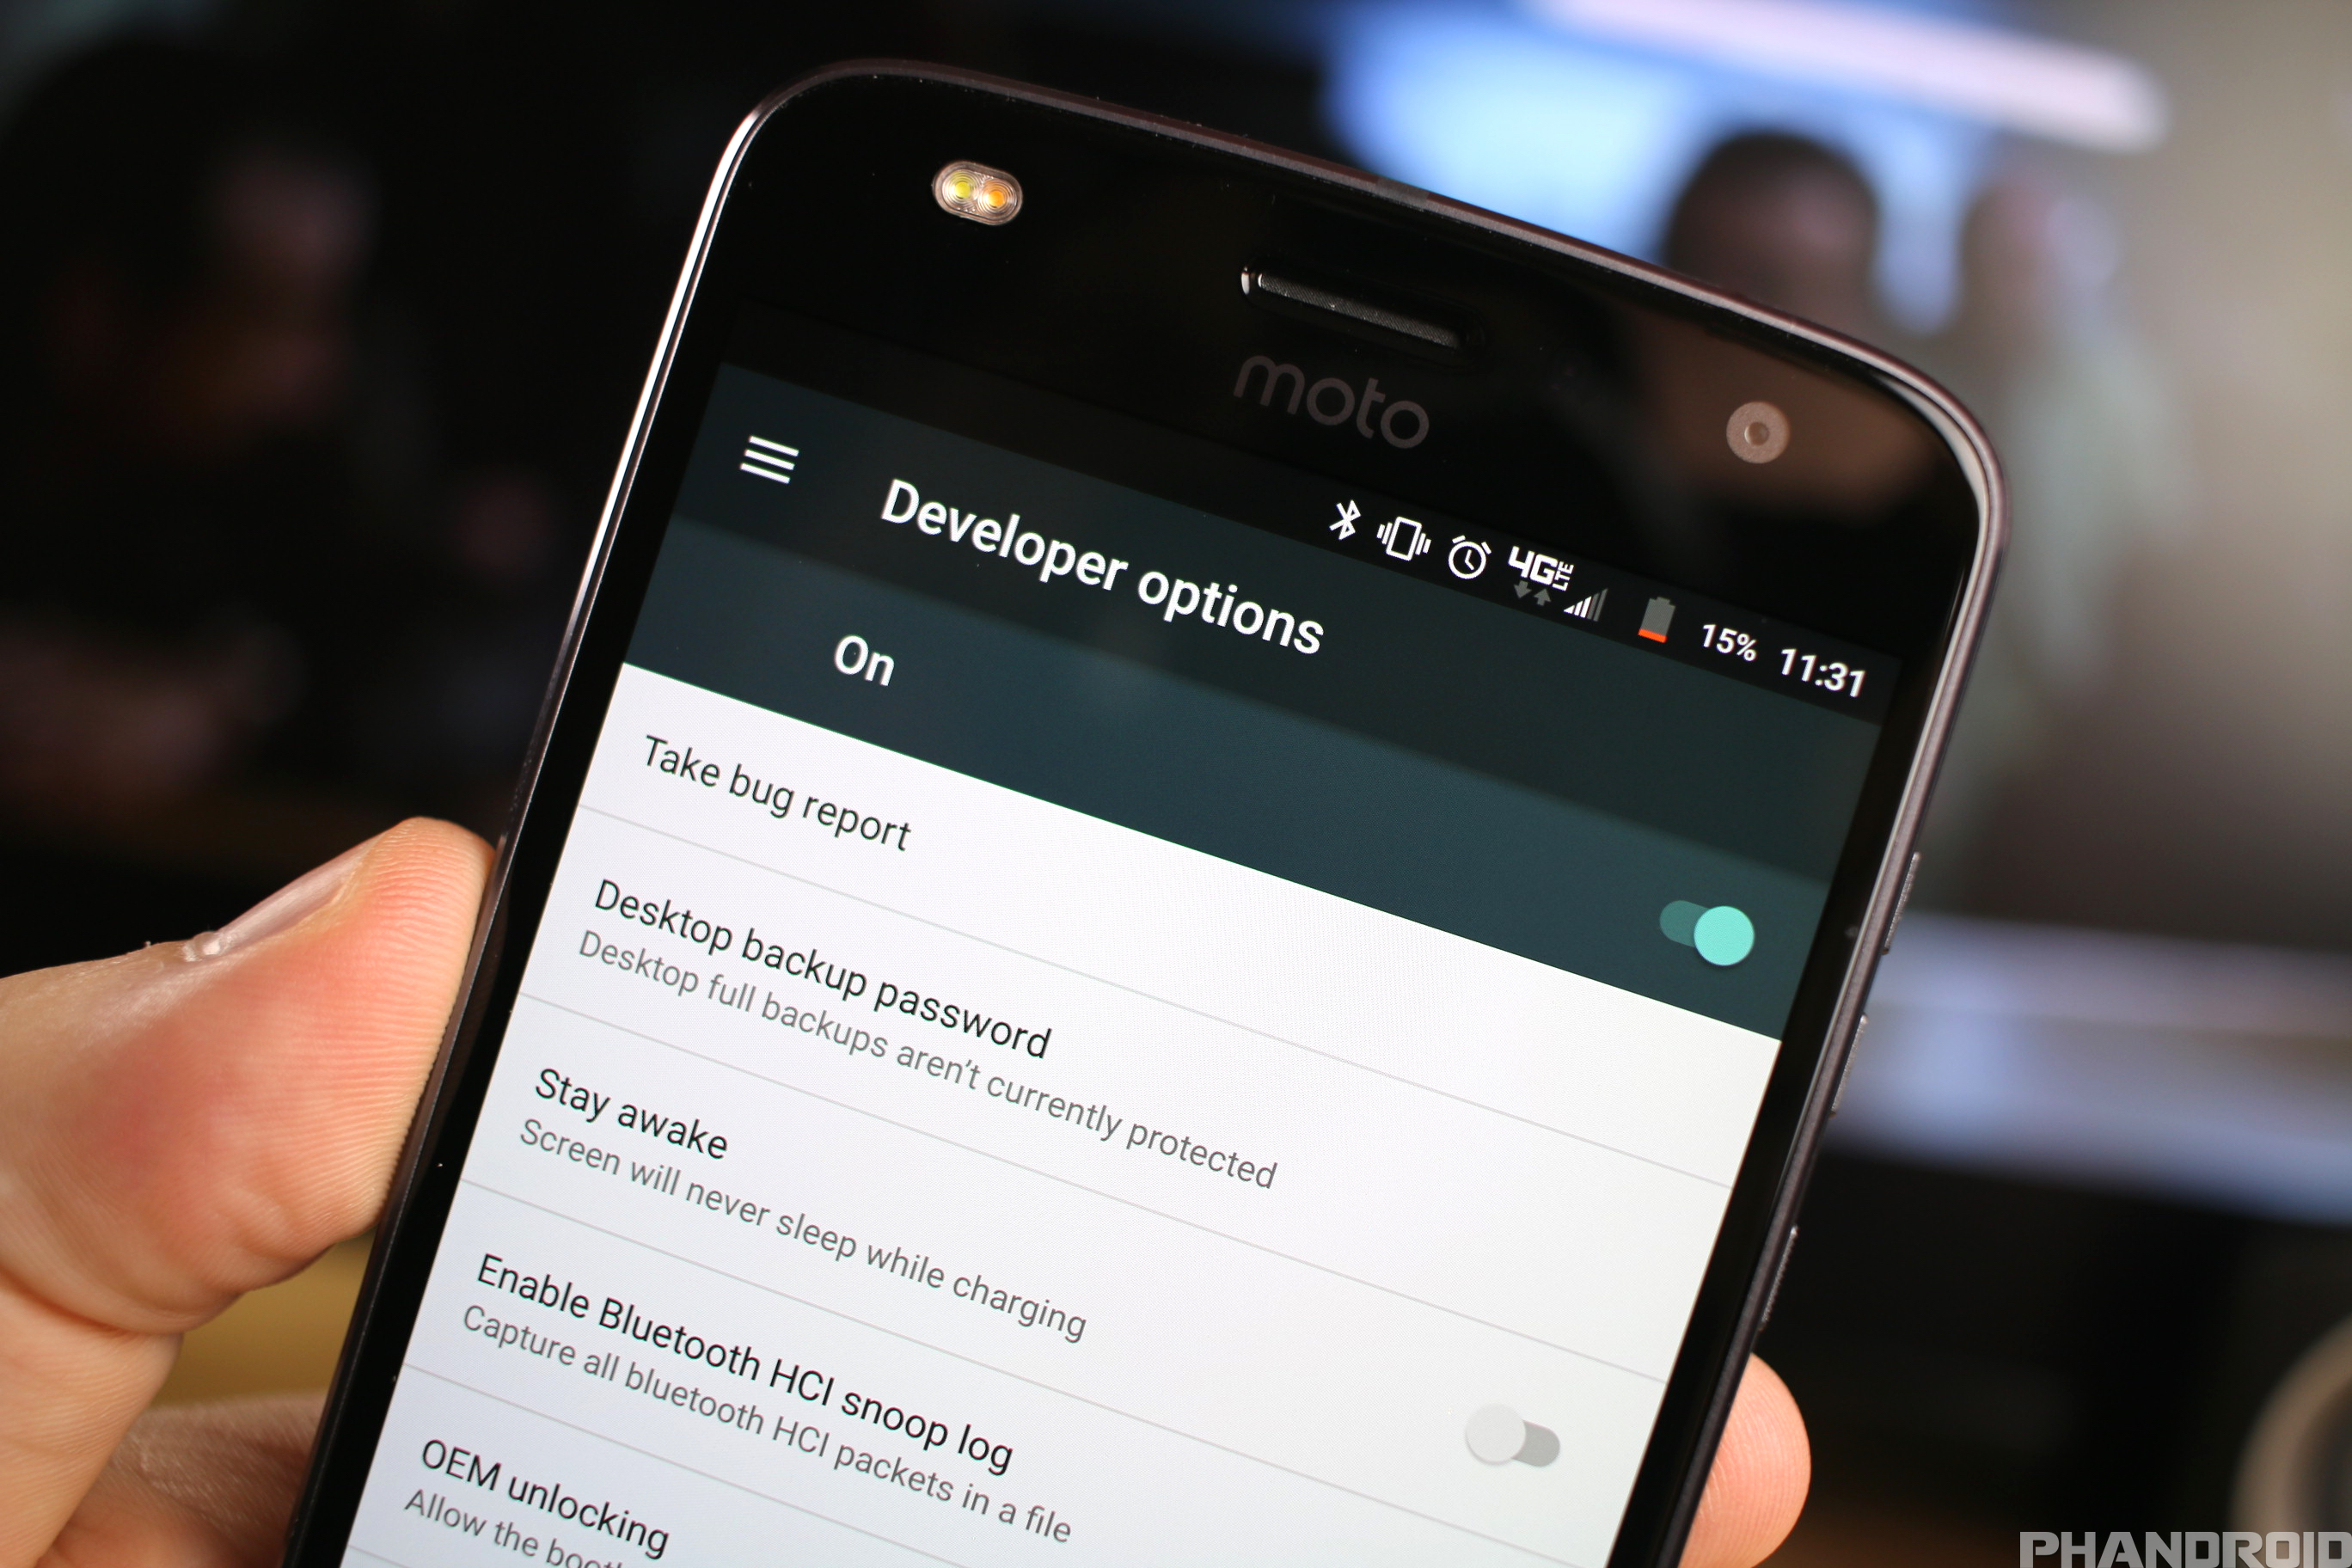
One of the most common complaints about Android is “lagginess.” In the last few versions they have made some serious improvements, but if you still feel like your phone is a little laggy there is a trick for speeding things up. Google has hidden some secret developer options inside the Settings. Inside the secret developer options are settings for animation and transition speed. Here’s how to speed things up.
- Open Settings > About phone
- Scroll down and tap on “Build number” 7 times
- Now go back to Settings and you should see new “Developer options”
- Adjust the window and transition animation scales to .5x or turn them off completely

 Take full advantage of the right-click any time you highlight text or want to view the properties of an object. For example, if you highlight a file or text, you can right-click that highlighted item, copy it, and then right-click anywhere else to paste it.
